Coloring Poster Maker
Turn any coloring page or picture into a giant poster! Just upload your image, let the coloring poster maker work its magic, print the multi-page PDF, and assemble the pages into a huge, super-cool wall art that's impossible to ignore and seriously fun to color.
SELECT SOURCE IMAGE
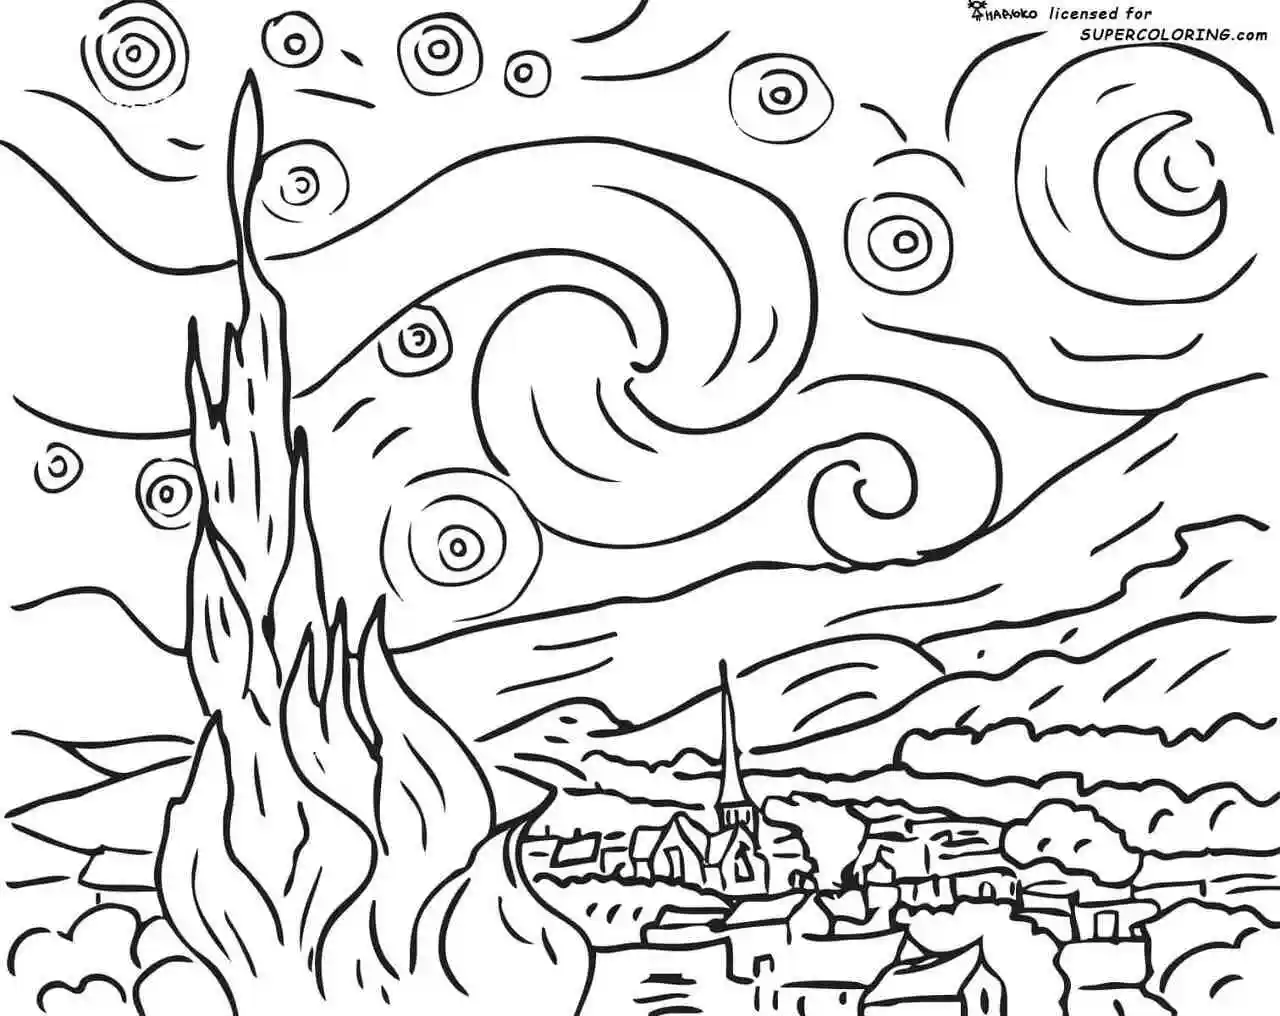

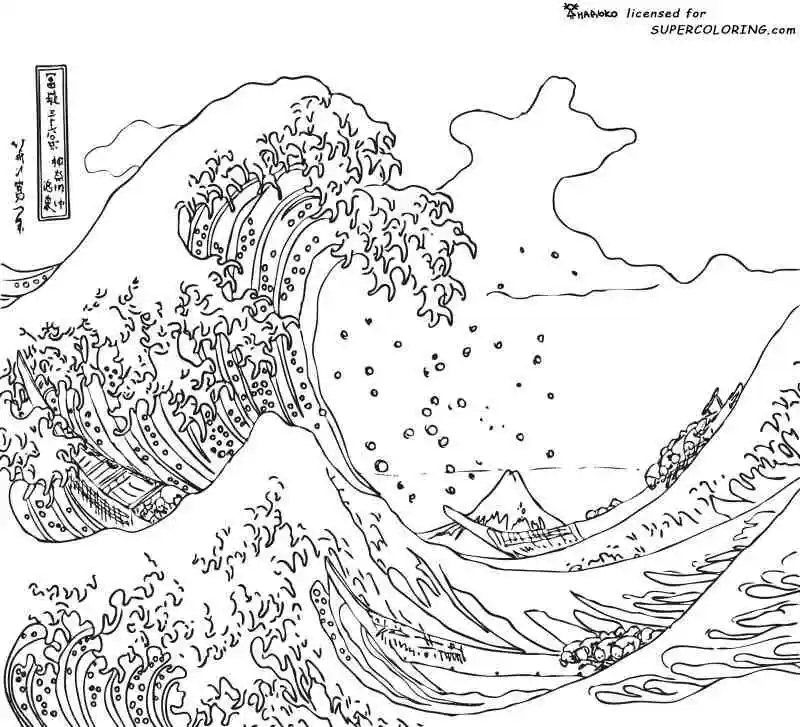
EXAMPLES OF POSTERS YOU CAN CREATE


FREQUENTLY ASKED QUESTIONS

Buying oversized wall art sounds exciting—until you add up the price of the artwork, shipping, and installation. Suddenly it feels like a very serious life decision. Meanwhile, your walls sit there… blank… judging you.
Good news: you don't have to commit forever to go big.
With coloring poster maker, you can create a bold, dramatic, wow-that's-huge poster using nothing more than a printer, some paper, and a little tape. Upload an image, turn it into a dot-based poster up to 65 feet wide (20 meters), print it at home (or send it to a local print shop), and assemble it yourself.
Temporary? Maybe. But once it's on your wall, don't be surprised if it becomes the piece.
- Cardstock or sturdy paper
- A digital image
- Tape
- Computer
- Printer
- Scissors (or a utility knife if you're feeling precise)
1. Choose an image (prepare to overthink)
This step takes the longest—not because it's hard, but because everything looks amazing once posterized or even with no effects applied. You'll swear each coloring page or photo is “the one.”
Can't decide? Browse thousands of coloring pages in Supercoloring's library. They're free to use and perfect for experimenting.

2. Upload your image
Once uploaded, you'll see a live preview on the right side of the screen. This is where the magic starts

3. Pick your paper size and final dimensions
Choose your paper size and adjust the output dimensions to match your wall. As you increase the number of pages, a silhouette appears next to the preview so you can instantly see how massive your poster will be. (This part is extremely satisfying.)
4. Set margins and overlap
Want perfectly aligned pages? Turn on overlap. Not sure what to choose? The built-in diagram shows exactly how each option works.

5. Choose a poster style
Now the fun stuff. Transform your image into:
- Halftones
- Wavy Pattern
- High-contrast graphics
Barcode-style graphics
...and more
Click through the options and watch the preview update in real time until something clicks.

6. Pick your colors
Black and white is the classic favorite—but color can be chef's kiss. Try the presets or dial in your own custom palette.

7. Fine-tune the options
If it already looks great, you can stop here. But if you like experimenting:
- Try different halftone shapes
- Adjust raster size

8. Play with raster size
This is especially impactful for large rooms. If viewers will be standing 20 feet away, bigger dots can look incredibly bold and intentional.

9: Another key part of Step 5 is to check the “Crop Marks” and “Page Position” boxes. Crop marks make trimming your pages much easier — especially when printing black dots on a white background, where it can be hard to see exactly where to cut. Page position markers are equally helpful; once you start printing, it's easy to get pages mixed up, so the printed numbers in the corners act as a clear guide. See the guide below for more details.

10. Generate your poster
Click “Posterize pages!”, download your PDF, and either print it at home or send it to a local print shop.

- Cut along the crop marks
- Match pages using the position numbers
- Tape pieces together from the back, row by row
- Flip it over and reinforce with a few longer strips

Even if the dots aren't perfectly aligned, don't stress—the image comes together beautifully from a distance.

Of course, this is just one way to assemble your pages. I've seen creative setups where the borders weren't trimmed at all, and each sheet was hung individually with binder clips. I used three small pieces of gaff tape to mount my print, but you could also attach it to foam core, mat board, or even frame it.
- Use the same paper size you selected online
- Set your printer to Actual Size
- If printing edge-to-edge, use Fit to Page (just note it may slightly change the final dimensions)
Once Step 6 shows “Done”, your browser should automatically start downloading the PDF file — though this can depend on your browser settings. There's also a Download link you can use manually.
First, check your Downloads folder; the file will be named supercoloring-poster.pdf.
You can upload JPG or PNG files up to 40 MB.
Images larger than 8500 pixels in width or height will be automatically scaled down.
Some unusual color spaces or profiles may not be supported.
Yes—and that's the whole point 🙂
Coloring Poster Maker can convert your images or coloring pages into dot patterns so even lower-resolution images can be blown up into huge posters. From a distance, these dot-based designs look surprisingly sharp—your brain fills in the missing detail.
If you prefer a simple enlarged (pixelated) image without this effect, choose a more standard output mode in Phase 4 of poster creation.
Make sure you're using a modern browser (no more than ~2 years old).
The tool works best in Chrome, but other up-to-date browsers should also be fine.
Older browsers aren't supported — it's a non-commercial project, and maintaining legacy compatibility just isn't practical.
Coloring Poster Maker runs entirely in your browser. No images, PDFs, or previews are ever uploaded, stored, or sent to a server.
Everything you import or generate stays on your own device for the entire session. Nothing is logged, saved, or transmitted — this includes filenames, image dimensions, metadata, and image content.
From start to finish, your workflow remains completely local, so your files stay private at all times.
- Use the same paper size you selected during poster creation
- Set scaling to Actual Size (for example, in Acrobat Reader on Windows)
If you skipped margins and want to print edge-to-edge, choose Fit to Page — just note that this may slightly change the final dimensions.
This usually happens because printers have non-printable margins, and those margins vary by model.
Coloring Poster Maker creates full-page output, but your PDF reader scales it down to fit the printable area.
Example:
- An A4 page is 210 mm wide
- If your printer has 2 mm non-printable margins on each side, the output shrinks by about 1.9%
If you know your printer's exact printable area (you can find it in Word's page setup), select Custom Paper Size in Phase 2 to get more accurate results.
To make sure every page is fully filled, the aspect ratio of your image must match the aspect ratio of the printable area of your paper.
- A4 paper: 210 x 297 mm
- Margins: 10 mm on all sides
- Printable area: 190 x 277 mm
Aspect ratio: 190 ÷ 277 ≈ 0.686
If your image is 1200 px wide, calculate the matching height: 1200 ÷ 0.686 ≈ 1749 px
Crop your image to 1200 x 1749 px.
Rounding slightly down helps avoid thin slivers of image on edge pages.
You can also start from the image height and calculate the width instead—the goal is the same: perfectly filled pages with no partial rows or columns.
Most printers can't print all the way to the edge of the paper, so leaving a margin is necessary. If you know your printer's exact non-printable area, you can enter it here. Otherwise, the default 10 mm margin is a safe choice and works well with almost all printers.
Overlap — sometimes called bleed — makes trimming and assembling your poster much easier. A small part of the image is repeated along the edges where pages meet. This means your cuts don't have to be perfectly precise: any cut made within the overlap area will still line up cleanly.
The overlap is added inside the margin, so it doesnot change the final size of your poster. Straighter cuts will still give the cleanest result, but overlap gives you some welcome room for error.

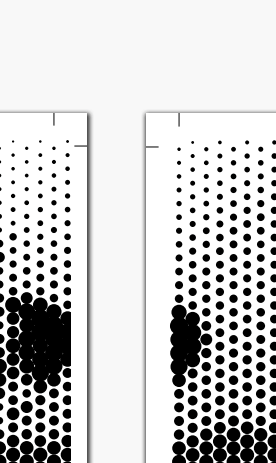
Raster Size controls how big the dots can get, which directly shapes the overall look and “tone” of your poster.
- Raster size is defined relative to the grid size (the distance between dots), measured in millimeters.
- With a range of 0 - 100%:
- Pure white areas produce no dots
- Pure black areas produce dots large enough to fill the available space with the chosen color
Want clear gaps between dots?
Set the maximum toaround 70%.
Want a subtle, airy look where the image barely shows?
A range of 40 - 60% works beautifully.


Important note about halftone rasterization:
Note: In halftone posterization, raster size is calculated as a percentage of the grid size. At 100% raster size, circles have a diameter equal to the grid size (touching edge-to-edge). For overlapping dots that fill areas completely, use raster sizes above 100% (up to 150%).
Crop marks are small lines placed at the corners of the paper to guide where the margins should be trimmed.

If no margin is added, crop marks can't appear because there isn't enough space for them. When Overlap is enabled, crop marks are placed on the non-overlapping portion of the image.
It may look like you're cutting into the image—but you're actually just trimming away the duplicated edge that overlaps with the neighboring page.
Page position markers show where each sheet belongs in the final poster.
They work like Excel coordinates:
- Letters = columns (A - Z, then AA, AB, etc.)
- Numbers = rows
Example:
Example: A page labeled D7 goes in the 4th column, 7th row.
A few details to know:
- Markers may slightly overlap the raster image (depending on dot and page size)
- They're typically about 2 mm tall
- They're incredibly helpful once pages start piling up on your desk
Yes — the tool itself is free to use for commercial work.
However, image licensing still matters:
- Coloring pages from Supercoloring.com are mostly for personal, non-commercial use
- Traditional art, photos, and digital illustrations from Supercoloring.com are safe — over 95% are in the public domain
If you use your own images or images from other sources, make sure you have the proper rights for commercial use. Ultimately, it's your responsibility to confirm that the images you use are legally cleared for your intended purpose.